
Loading cart...
 My Account
 Track Order
 Sports Guide
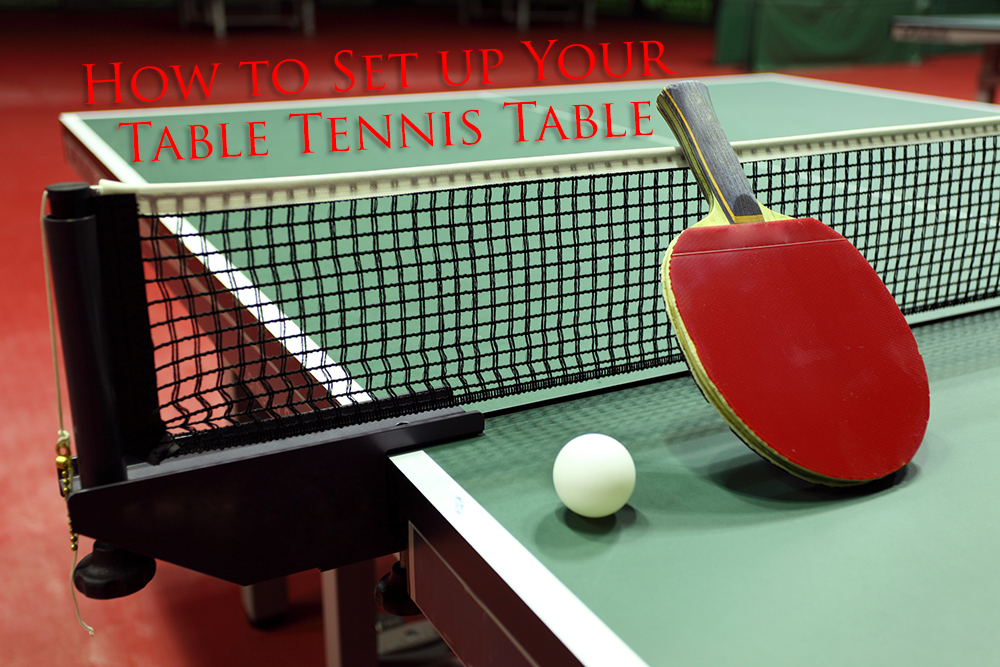
How to Set up Your Table Tennis Table
Did you just buy your first table tennis table? The next step is setting it up. Check out this beginner guide to learn how you can assemble your tennis table.
As of now, 18.4 million Americans were playing table tennis. While many plays as a hobby, some take this sport to the next level and go professional (we're looking at you, Forest Gump).
Whether you're playing like a pro or just for fun, it's nice to play whenever you want. You already know this, which is why you've just purchased your first table tennis table.
While you may be a pro at playing, it's the assembly part giving you some trouble. Not to worry, we've got your back. Follow this guide on assembling your table tennis table and you'll be playing in no time.
Pick Your Space
Before you attempt to set up your new table, it's important to make sure you pick a space big enough not just to hold the table, but to actually play as well.
Most tables are about 9 feet long and 5 feet wide, you'll want to leave space at each end for players to move around and play. For playing purposes, leave an extra 5 feet on each end and 3 feet on each side.
The size of your playing space will ultimately come down to how seriously you play the game. Professionals usually move around and utilize as much of the available space as possible. Newbies and people playing for fun will likely need much less room.
Read the Instruction Manual
Now that you have the perfect space picked out, familiarize yourself with the instructional manual. We know you won't read the entire thing front to back, but it's good to do a quick read through in case you have questions or need to reference something quickly.
This will also give you an idea of what's involved during the assembly process and what tools you might need. Plus, you'll get to know if it's a one-person job or if you need to wait for a friend to help out. If you need help in selecting a table tennis table then this article will help.
Assemble Your Pieces
Space? Check. Instruction manual? Check.
It's time to open the box and assemble the pieces. It's easiest to cut open the top of the box and lift it off versus sliding each piece out of one opening. This will also avoid potential damages.
Your main parts should include:
- Tennis tabletop
- Two T-shaped legs
- The net
If you go this route, you might need a helping hand to lift the tabletop out of the box. Discard the extra packaging and make sure you have any screws, nuts, and bolts that came with the table.
Check for Damages
Once you've assembled all the pieces, check for any damages which may have occurred during delivery. If you notice anything, contact the manufacturer right away. Before you begin assembly, lay your net out to flatten in time for you to install.
Add the Legs
It's time to start setting up your table! Begin with the tabletop lying facedown. You'll have two sets of T-shaped legs. These should already come with casters installed.
Most tables will have arrows or numbers on the underside to guide you as to which pieces go where. Using your instruction manual, place the legs in the correct position on the table and attach them using metal brackets (these should have come included with your purchase).
Once you have the brackets in place, use a wrench and the included bolts to secure the legs to the table. Once all four legs are secure, have someone help you lift the table and place it right-side-up.
While some table tennis tables don't specify a direction for the legs, some do. Check the instruction manual to see if the legs need to point towards the players or not. If you bought a foldable table, you'll need to then attach the linkage tubes to the legs. This will make the table moveable and foldable.
Attach the Net
Once the table is top-up it's time to attach the net. If you previously unfolded your net to flatten, make sure it's good to go. If not, unfold the net and make sure it isn't damaged.
Next, you'll need to attach the net to the table post using the metal pin. All you should have to do is slide it into the post.
Most table tennis nets are different, so check yours before continuing. You'll need to either hand screw or clip the net to the seam between each table tennis half.
To tighten or loosen the tension of the net, use the beads/string. Make sure it doesn't sag in the middle.
If your table tennis came with a plastic net, it'll be easier to attach. All you have to do is slip each end over the post in the middle of the table. You can tighten the net using the same method as above, though some may have clamps instead of strings or beads.
Get Your Game On
Your table tennis table is officially assembled! It's time to get your game on. In addition to making sure your table is level, secure, and the net tight, you'll need your table tennis bat and a table tennis ball.
Assembling Your Table Tennis Table
That wasn't so hard, was it? We know you may not be handy when it comes to assembling table tennis tables or fixing the kitchen sink, which is why we've written this guide for you. Stop worrying about the assembly and get playing.
If you're interested in more than just table tennis, we welcome you to check out our website! We have merchandise and blog posts on all types of sports, health, and nutrition. Head over to our blog to learn more!

Aakriti Mohan
Dashing between table tennis tables, squash courts, and pickleball paddles, I'm the racquet queen turning games into giggles. Whether I'm drop-shotting puns in pickleball or smashing narratives on the squash court, my game is as diverse as my wordplay. From table tennis trick shots to pickleball poetry, I'm here to spin a racquet-tastic yarn. Let the games and giggles begin!
Related Products
-25%

₹6,990 ₹5,245
-24%

₹3,000 ₹2,295
-34%
₹2,100 ₹1,390
-40%

₹6,600 ₹3,975
Leave a Reply
Your email address cannot be published. Required fields are marked*
Latest Articles from Blog
No comments